The workflow covered in the Introduction included three phases: 1) Field Data Collection, 2) Desktop Analysis, and 3) Data Visualization. Here we'll discuss phase 1.We encourage the use of smart phones and tablets for data collection for these reasons:
- Most already have them!
- Many know how to use them
- They're intuitive
- They're portable
- Come with an on board GPS receiver (iPhone 5 uses GPS + GLONASS)
- Have on board cameras
- Can connect to wireless networks
- Access to the internet
- Email is available
- There's an app for that!
Equally as important they are accurate enough for most public health community mapping needs. For a discussion on their accuracy read this post.There are a myriad of data collection apps available. Part of choosing one comes down to the operating system you are using. We'll cover the three best apps we found for iOS and Android. Our full report and individual user step by step user manuals for each can be found here.iOS (Apple iPhones and iPads)The two best data collection apps for Apples iOS are EpiCollect and GIS Pro. They both allow you to customize the data attributes you collect. One big difference is that EPI Collect is free and GIS Pro, at $299, is the most expensive piece of software we considered in our workflow. However, with that price tag comes a lot of great intuitive functionality.EpiCollect (available for both iOS and Android)To get started with EpiCollect you install the app on your device via Apple's App Store. You then visit the EpiCollect website and set up a project. Simply give the project a name and design your data collection form. The form can be set up with a variety of attribute columns. For example, feature type, name, description and photo. For most users it takes a practice run to get used to the workflow to set up a data collection form. The second time it goes very smoothly. The project can then be uploaded, via your email address, to your iOS EpiCollect app. Examples of the data collection screen are shown below. On the left is the home screen, on the right is the data collection screen.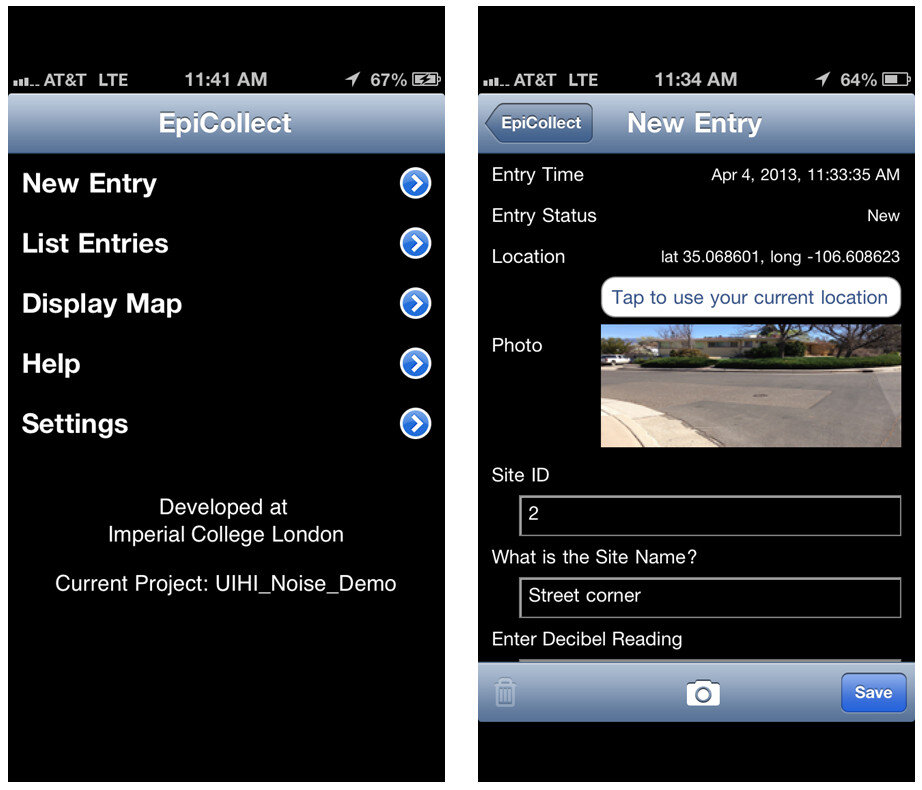 After data collection, you can sync the mobile app with the website. The data can then be viewed both on the mobile app or on the website. The website also allows for the spatial data to be exported as either an XML or CSV file. Data collected by EpiCollect is limited to point locations. The data can then be brought into a desktop GIS such as QGIS. This will be covered in a future blog post.GIS ProGIS Pro is essentially a lightweight GIS application for iOS. Once purchased a user can have the app on both an iPhone and an iPad. However, each unique user needs their own license. As with EpiCollect, the user can set up custom data collection fields. One additional feature here is that users can collect point, line or polygon (area) data sets within the same project. The data can also be exported in a shapefile format which is then ready to be used by any desktop GIS package. GISPro also allows for sharing of GIS layers. With this feature a team of data collectors can all be working off of the same GIS layer. This is a valuable feature. With the high cost does come great functionality compared to EpiCollect. This was determined to be part of the best workflow and is reviewed more thoroughly in the final report.
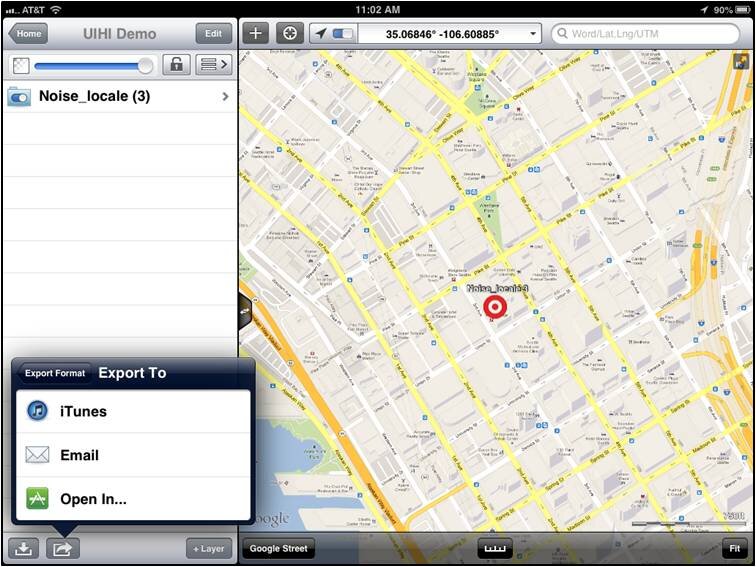 AndroidIn addition to EpiCollect, the other great app for Android devices is OpenData Kit, known as ODK Collect. The app is free. It is even more intuitive and makes project management even easier than EpiCollect.To get started you will use a companion website called FormHub. Simply sign up for a free account and design your form. Here your data collection form is designed in MS Excel, and a template Excel file makes generating your first form easy. Once designed upload your form and sync your device to your account and you are ready to collect data. On the device the data collection form presents itself as a series of pages for each question.
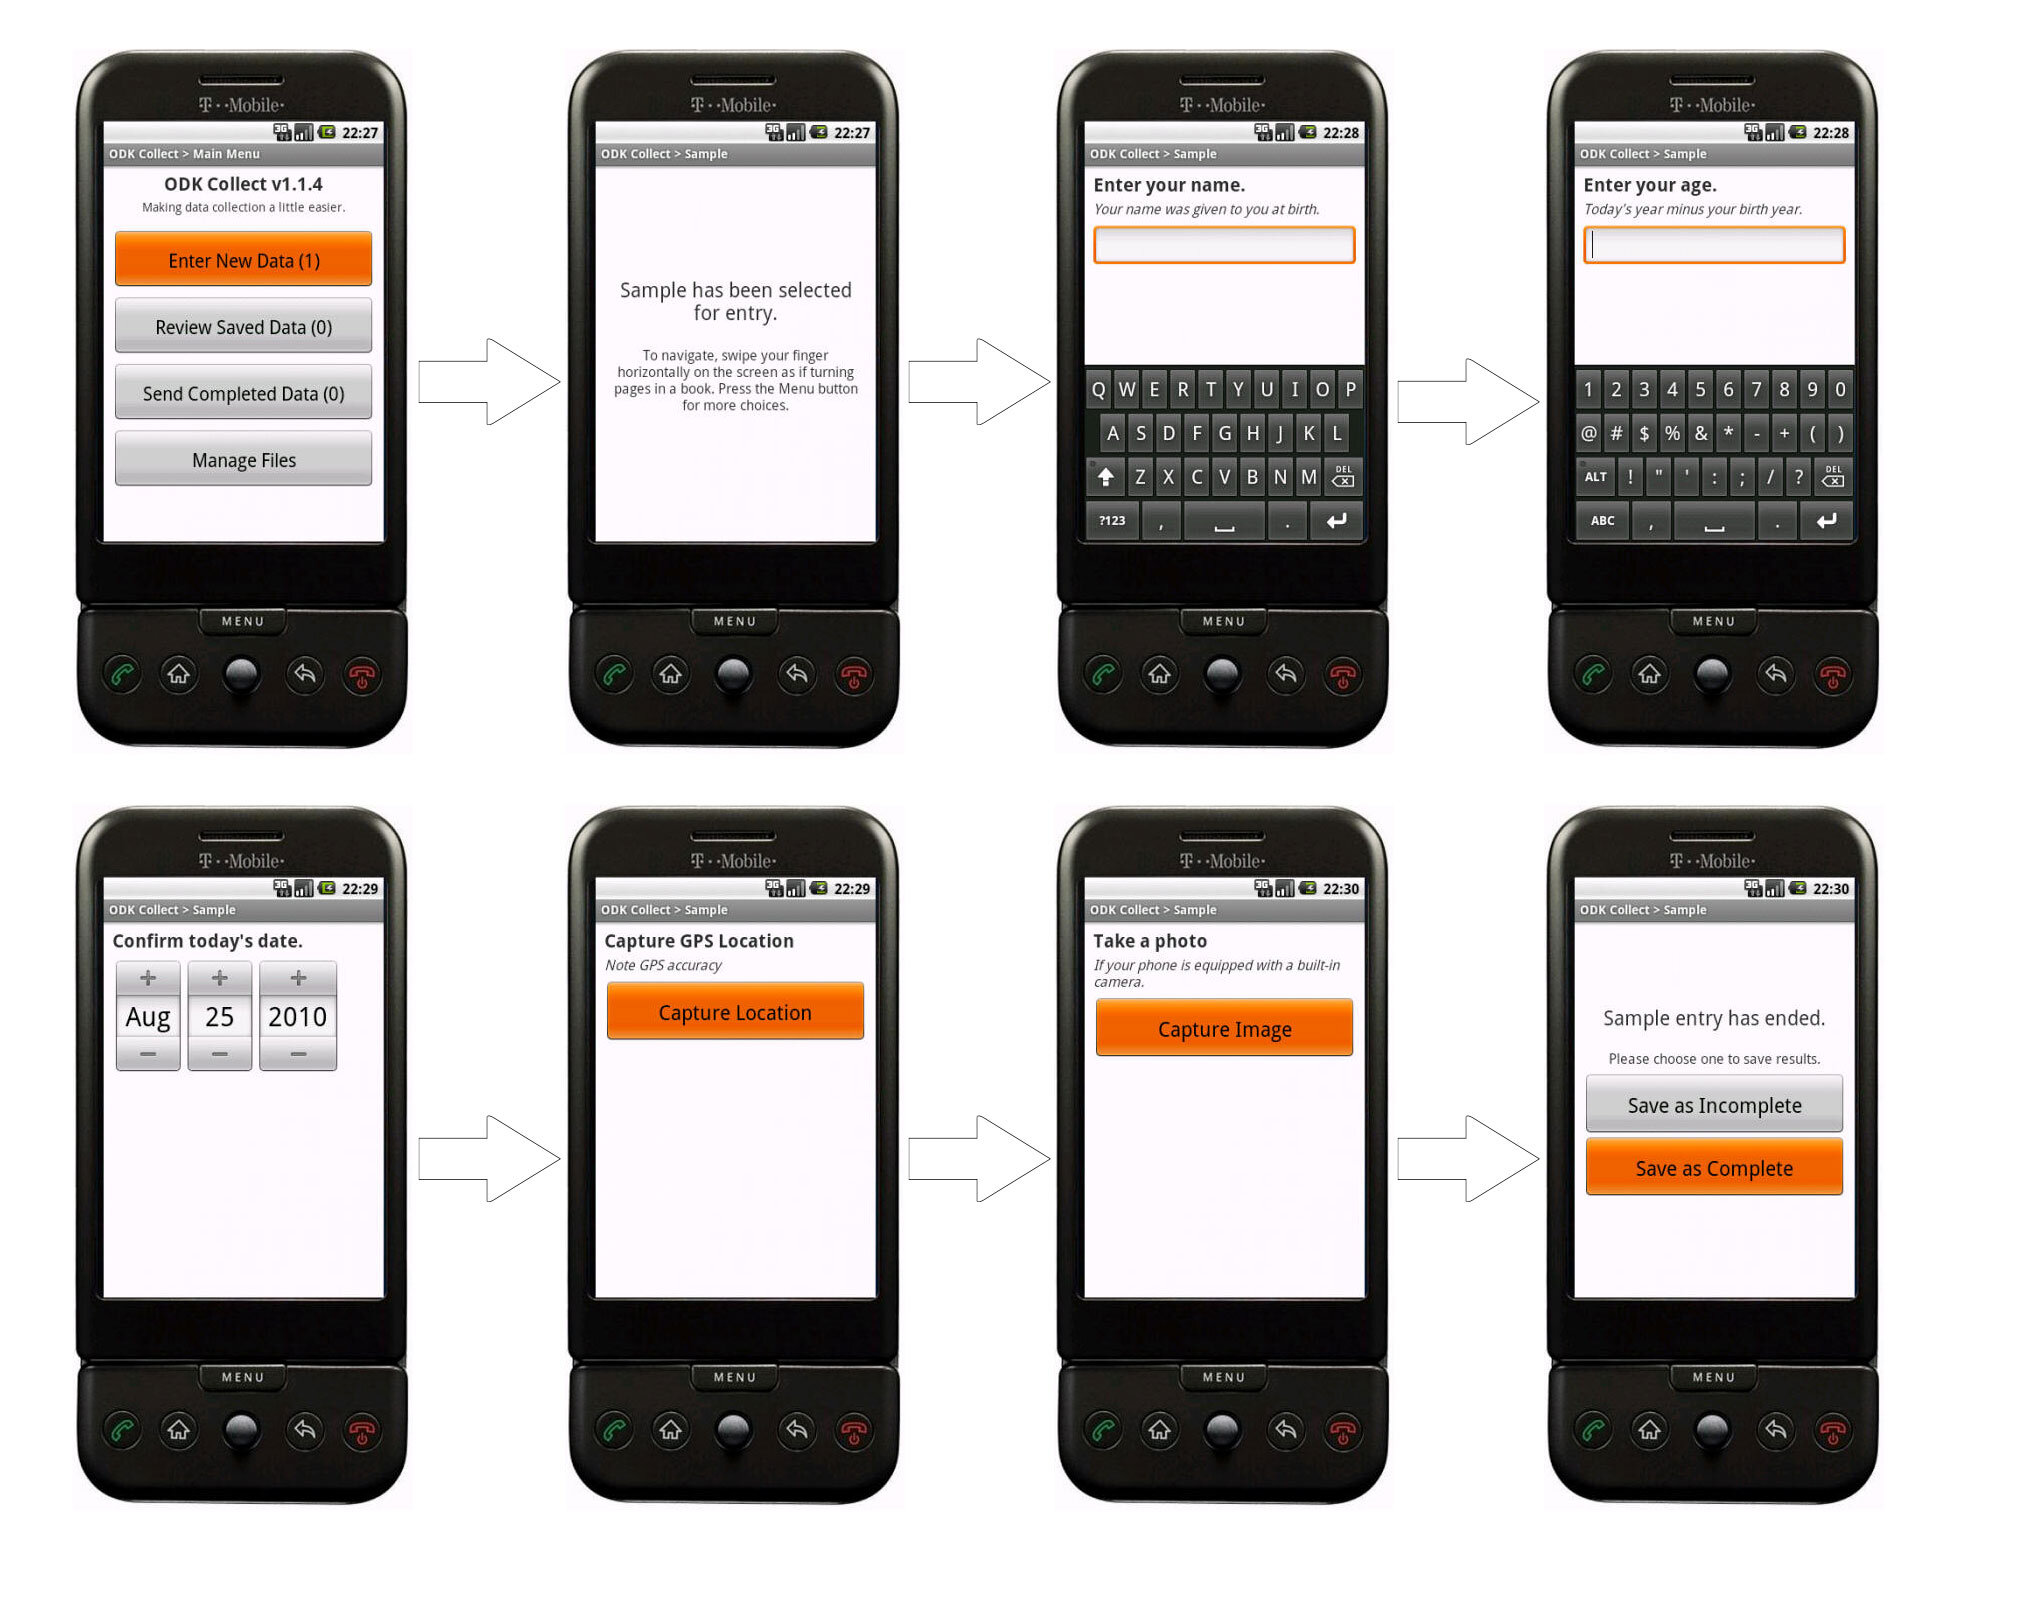 When you are back in range of a network simply sync the app with your account. The data will then be available for download from the website in several formats.SummaryThese are the best apps we found out of dozens reviewed. All three were successfully tested in 2013 by our partners were found to work well. For additional reading download the full report . Step by step user manuals for each can be found here.